After making the frames for Rhea's quilling she decided she wants to hang the framed pictures. I could find no things for hanging pictures. Wire would be too bulky. The only thing I could think of was the notched hangers attached to the frame and hung over a nail. A had a scrap of aluminum from the heart that was 1 7/8" long. The plan is to make two hangers that are 1 3/4" by 0.225". The latter width is due to the narrow 1/4" first frame. The thin widths were cut with the hacksaw. Both pieces were then squared up. They had to be clamped to the angle block for cutting. The parallels are too thick for 1/8" stock.
I should make or buy some thinner parallels.
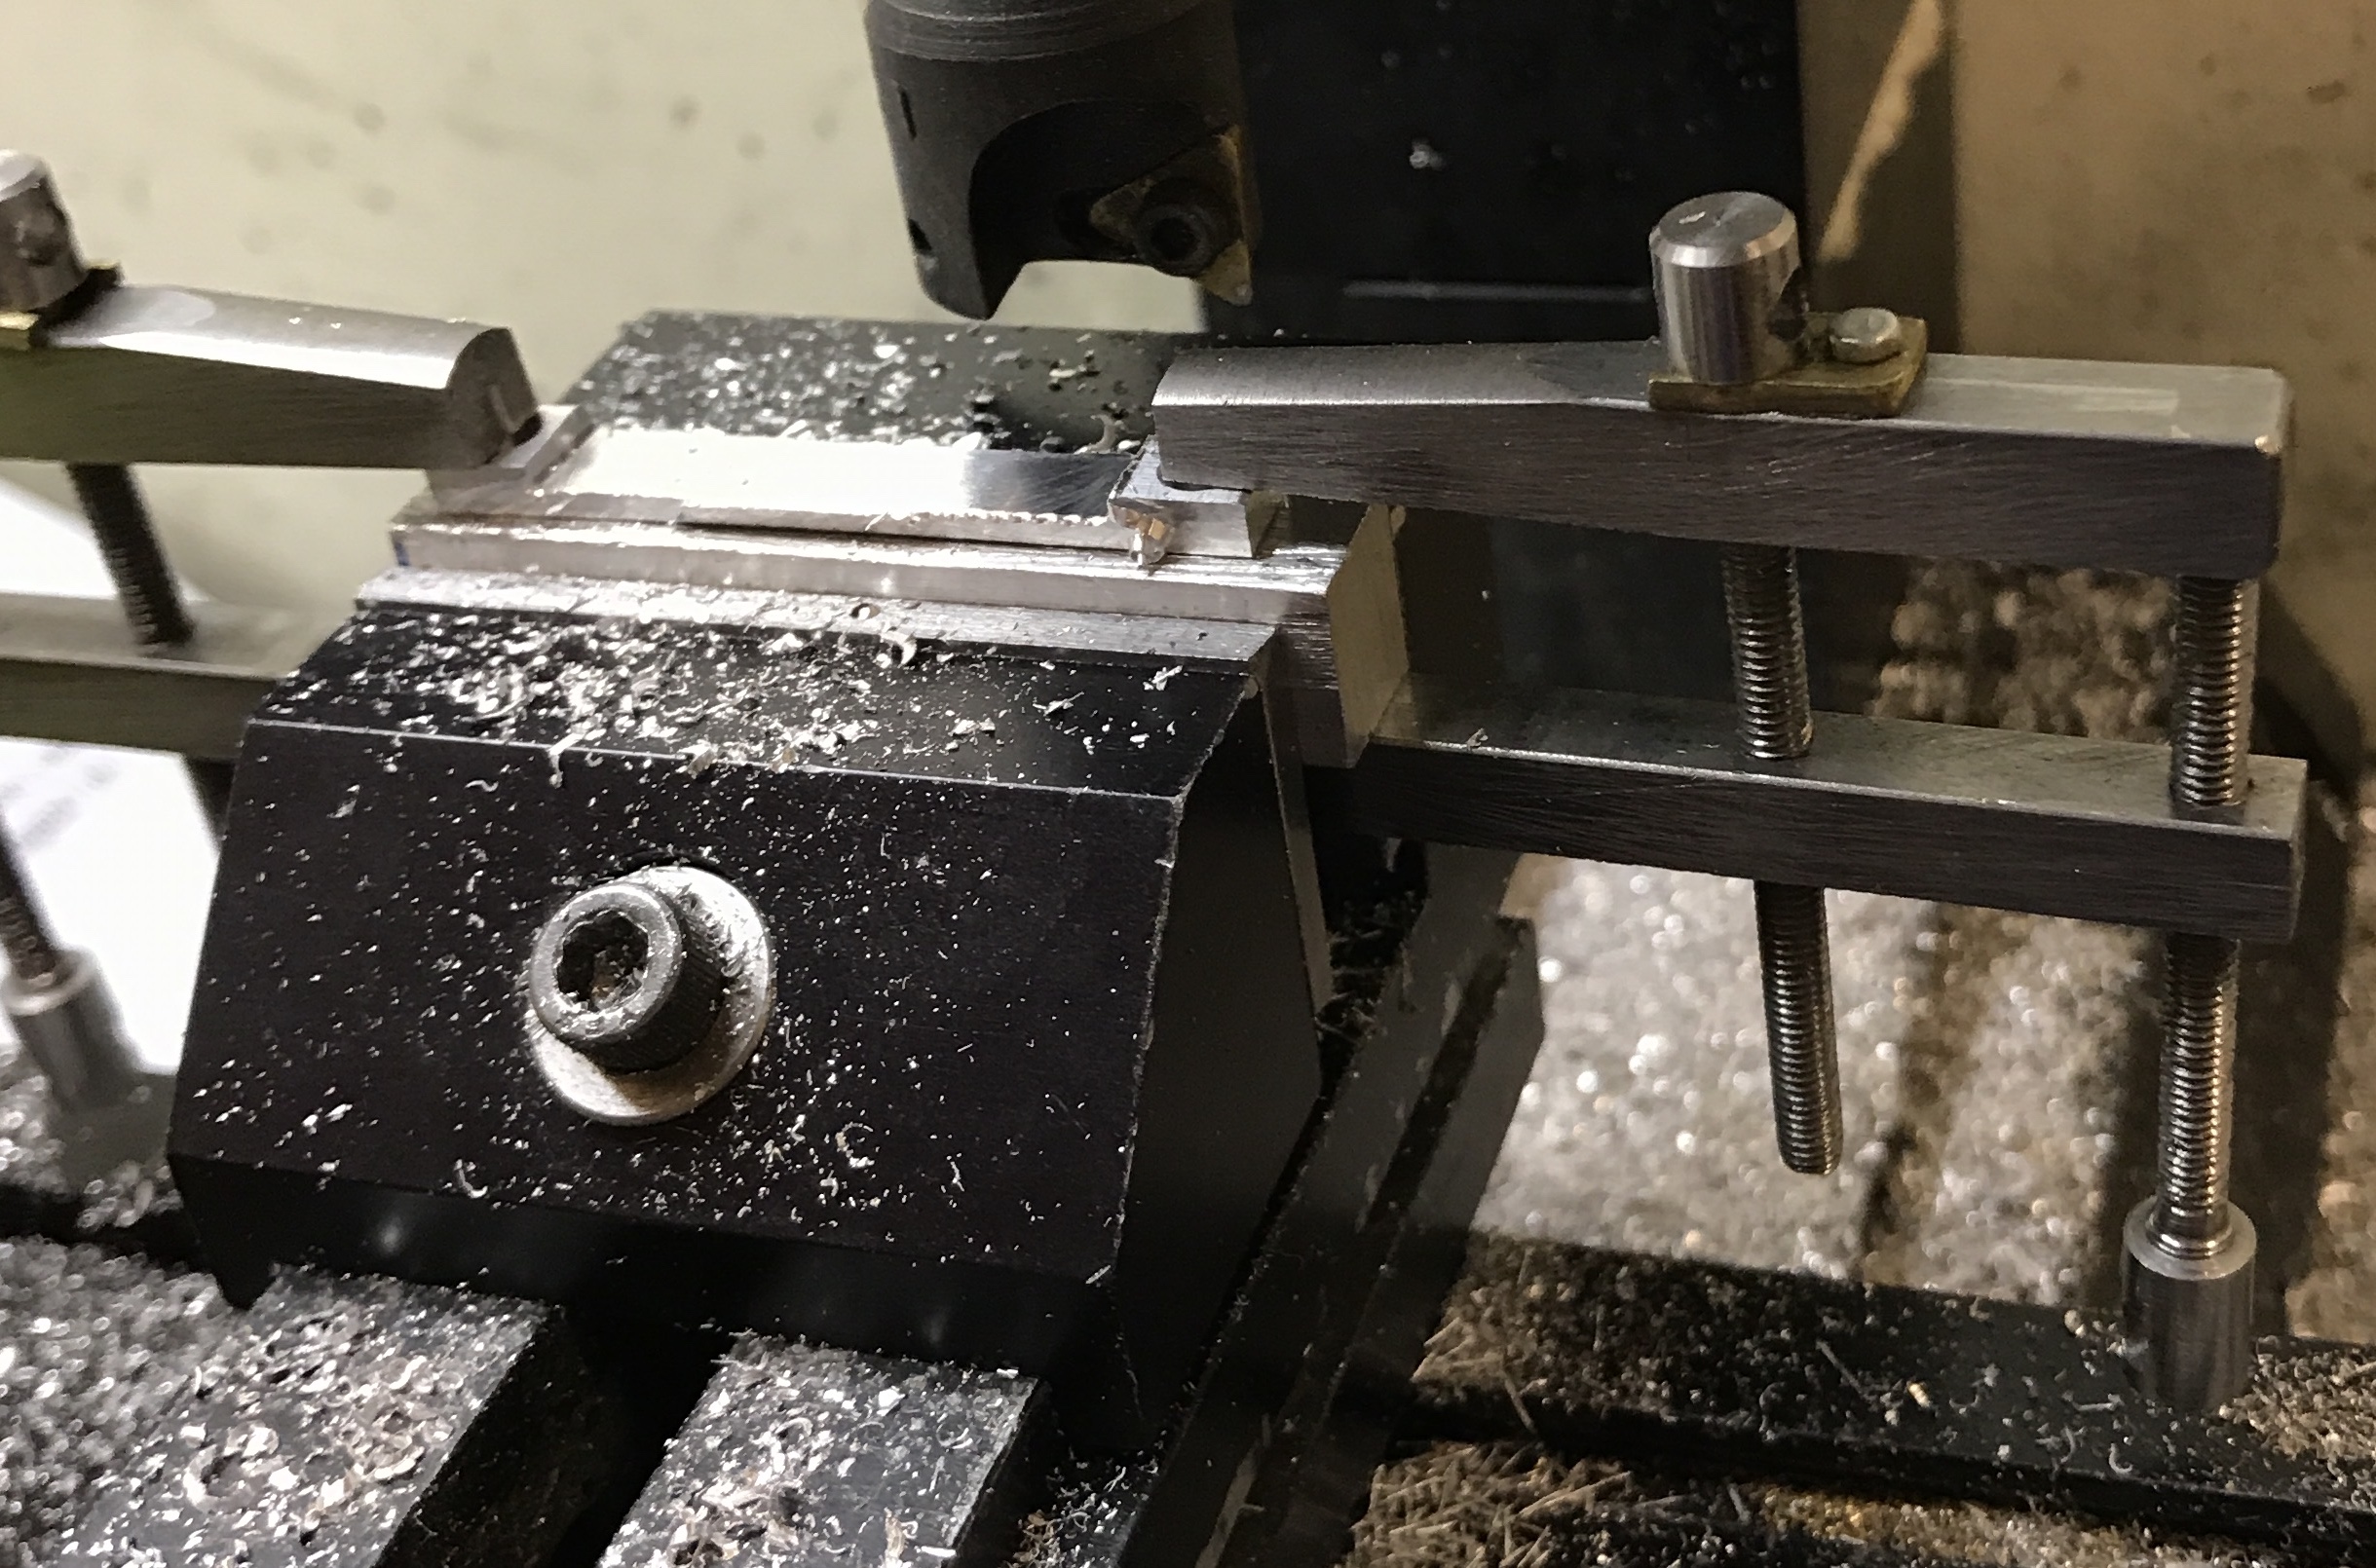
Once squared up 1/8" holes were drilled on each end. The holes were 1/8" in from the end and centered across the narrow width. The holes were lightly countersunk on the back side and heavily on the front side for the screws. The thin plates were then individually thinned to 1/16" in the center 1 1/4". The photo below shows the clamping arrangement for thinning the aluminum strips. They were 'leveled' by aligning the two-flute cutter so both cutters just barely made contact.

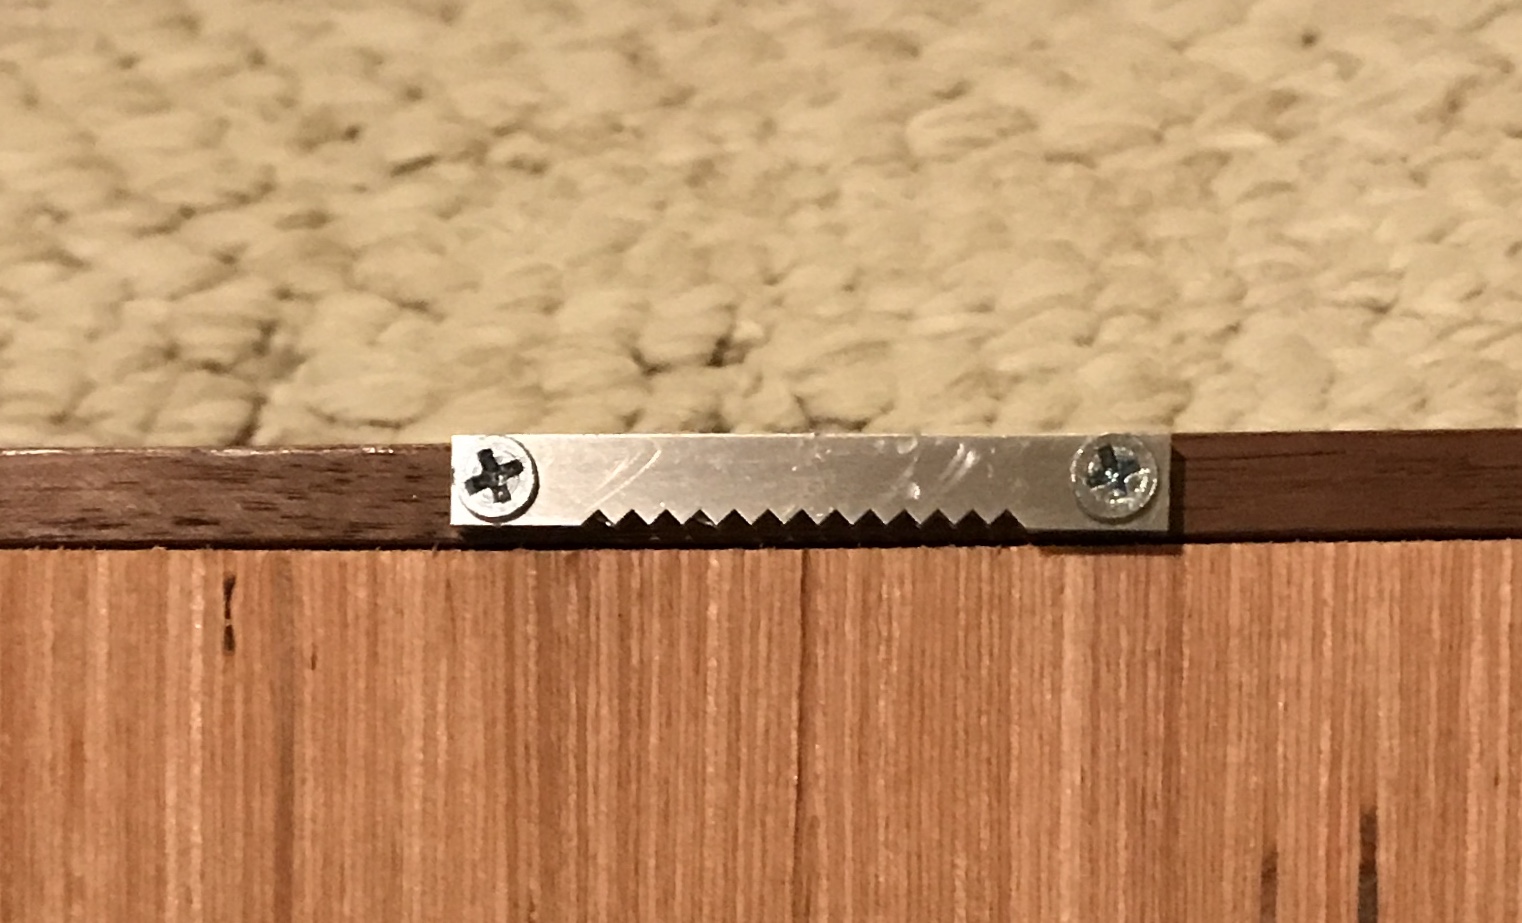
The final task was cutting the notches in the hangers. This was done by rotating the head of the mill to a 45° angle. The cutting edge was centered over the two hangers clamped together on a parallel in the vise. The end mill was lowered 0.042". At a slow speed the cut was made through both hangers. There was no chatter, which was a worry with the poor support. The cutter was moved 0.083" and a second cut was made. Six cuts were made on the right side. The cutter was then moved back to center, 0.498" and six cuts were made on the other side. The burrs were removed and the outer face quickly sanded. The hangers were centered on the tops of the frames and screwed into place with #4-1/2" wood screws. The picture below shows one of the hangers installed.
